
I was extremely bored, so in a whim I made this kitchen island out of an old dresser. Ha! Just kidding. This project took me a couple of months from idea inception to actual start of work (the work itself is only a couple of weekends, and that's only because of the paint-drying time).
We needed additional counter space and a place to eat in the kitchen, and I thought a kitchen island would be nice. When we remodel the kitchen (eventually, maybe in 5-10 years time), an island is a must. In the meantime, I didn't want to spend a lot of money for the current project. So, I used one of my MIL's dressers that she allowed me to keep/sell/makeover. This dresser I actually used for clothes before we moved to the new house, but since I no longer needed it and it's a 35" tall (just about counter height), it got sacrificed (though not in vain!).
Here is it before:

After priming:

Because the dresser was stripped down to the raw wood, I used tinted Zinsser High Hide Cover Stain oil-based primer, which was leftover from the front-door painting project.
After painting:

Now, for installing the counter top, I marked and drilled a few (10) pilot holes on the dresser top for screwing the top:
 |
| You might make out the barely visible X pencil marks, which indicate the pilot hole locations. |

Then, T and I put the dresser up-side down on the bottom of the top (in this case, picture is definitely better than words), like so:

For attaching, I used screws with washers:

Underside picture after attaching:

And here's the finished product, gloriously sitting in the middle of the kitchen like it owns it:
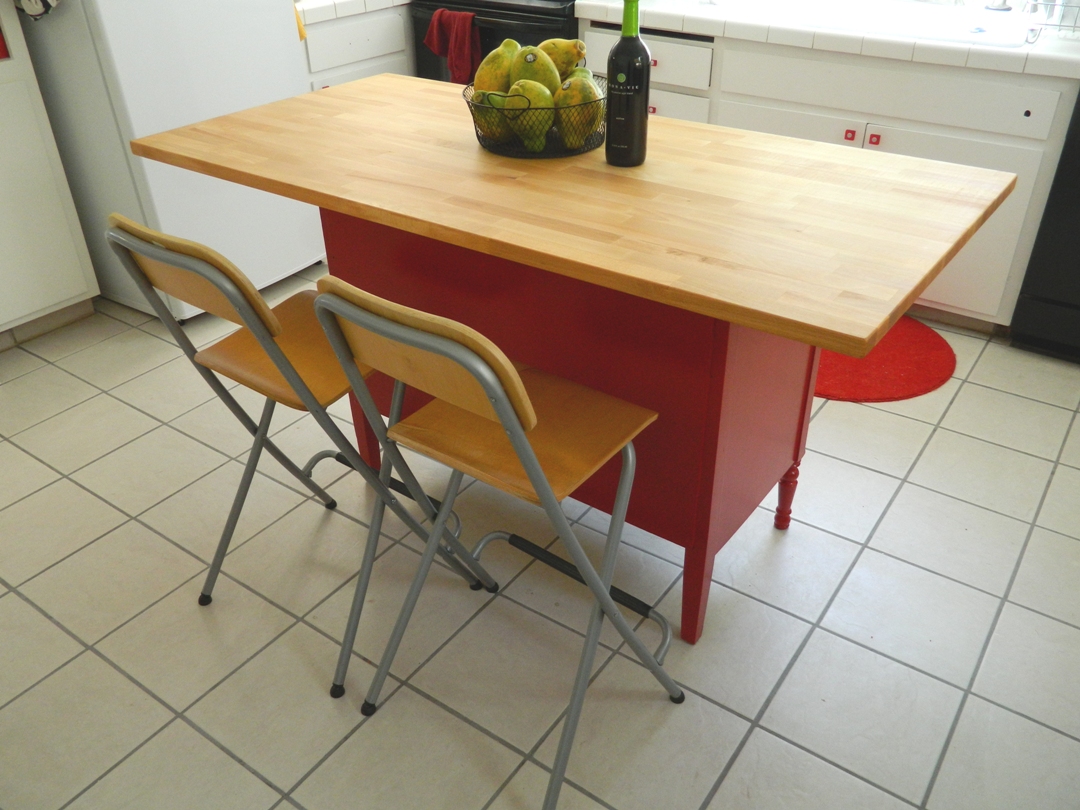
And the front:

Bar stools are Ikea Franklin, purchased from craigslist for $10 (not each; for both!). One of them has some water stain, but I'm planning to either stain or paint them later. Those are Hawaiian papayas, my favorite fruit for the moment (I buy 8 at a time for the whole week), and the wine-bottle-lookalike is some acai berry juice that was given to me (I use it exactly as pictured: for decoration).
Cost breakdown:
- Dresser: $0
- Table top: $88 with tax + about $20 cargo van rental
- Bar stools: $10
- Primer & paint: $0
- Knobs: $18 with tax (had to buy 4 new ones because of some accident in which the paint stripper is at fault)
TOTAL: $136
Not too shabby. Now T and I have a place to sit and watch the sink!
Linking to:


